About two years ago, I wrote a post here describing a simple and cheap method of coding text documents such as interviews. (I’d encourage you to go and read it first before you continue. I won’t repeat the original argument here.) To my surprise, it has been one of the most-read posts, resonating with researchers who have small budgets and simple needs. In addition, the approach has also found some resonance with method instructors who want to encourage their social science students to dabble in a bit of code.
However, there were some problems with the technical approach. I could never get it to work on the Mac despite my (and my nerdy friends’) best efforts. It seems that Microsoft’s implementation of VBA for Microsoft Office doesn’t quite work on the Mac, and there appears to be no movement towards fixing it. The other ongoing challenge was that on Windows — where it does work — VBA for Microsoft Office is occasionally updated, often without any documentation about what exactly has changed. While this doesn’t seem unreasonable from Microsoft’s perspective (after all, this is a small part of a much bigger thing), it makes maintaining the original comment extraction script quite difficult. And it makes it nearly completely impossible to “support” anyone asking for help.
Late last year, I decided to ask my talented friend Geva for some assistance. First, we tried to solve the ongoing Mac incompatibility issue in VBA itself, but it soon became apparent that a much better approach could be found by using Python, a commonly available, free programming language that works on most major computing platforms and that is often used for “data science” projects.
Here, then, are the instructions for the new, improved and updated version of the comment extractor script. This time, you’ll need to install something on your computer — but at least the script now works the exact same way whether you’re using Windows, a Mac, or even Linux (we’ll leave it up to your imagination as to why you’re using Linux to extract comments from Microsoft Word documents, but hey… it could happen).
Overview
Ingredients:
- Microsoft Word for Windows
- Microsoft Excel for Windows
- Spyder, which comes as part of Anaconda, a free Python interpreter (see installation instructions below)
- One or more Word documents, “coded” using Word comments (see below)
The basic procedure is as follows:
- Prepare one or more “coded” Word documents using Word comments.
- In Spyder, add the Python script (see detailed instructions below) and run it.
- In the file open dialogue, pick one or more Word documents containing tags.
- After a moment, look for a new file called “output.csv” which will be in the same folder where the Word document is. This file will contain your codes and corresponding data extracts.
Detailed instructions
Installing Python (Anaconda)
First, we need to install the Python environment that we’ll use for this project. Once installed and configured, you can leave it on your computer for future use, so you’ll only need to do this once.
Go to the Anaconda website (https://anaconda.com) and click on “Download.” When given a choice, you’ll want to pick the “Python 3.7 version” (or later, if available):
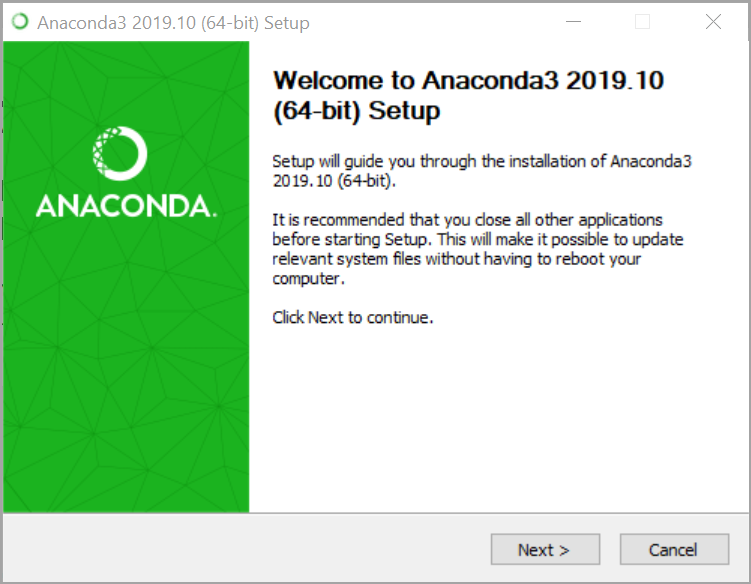
Once you have downloaded the installer, run it. I will document the Windows version of this process here, but it works very similarly on the Mac (I’ll trust that as a Mac user, you know how to download and install software on your computer).
Keep it simple and go with all the “recommended” options in the installation wizard. Depending on your computer’s speed, the installation could take a few minutes.
Once you’ve installed Anaconda, you’re ready for the next step.
Now we need to start a program called “Anaconda Navigator.” This is a menu of sorts from where you can start various programs that work with the Anaconda Python environment that you just installed. The program you’re looking for is called “Spyder.” Launch it from the menu:
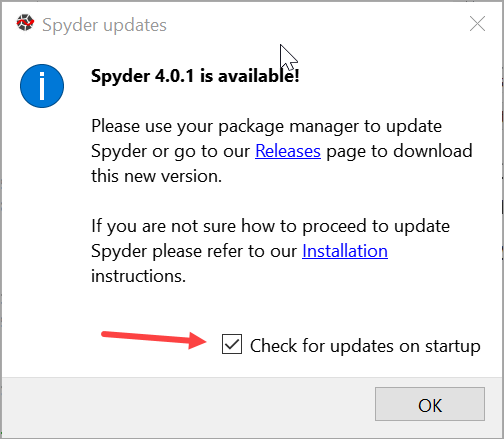
Spyder will now possibly warn you that a newer version is available:
I think it’s probably okay to just use whatever version comes with Anaconda, but you’re welcome to figure out how to upgrade it (I personally found this a bit complicated, although I did eventually manage to work it out). You could also decide to turn off “Check for updates on startup” to make this a bit easier in future — your call.
Once Spyder has launched, it should look like this:
The main window (labeled 1. in the screenshot above) is the code editor; this is where we’ll paste and save our script.
The second window (labeled 2. in the screenshot) is the console which we need to execute some additional commands next.
Loading two required Python libraries
For context, before we can actually run our comment extractor script we need to tell Python which libraries to load in order for it to be able to do so. Libraries are generic collections of pre-made code that are used by Python developers as “short cuts” of sorts, bringing with them various sophisticated capabilities that can then simply be invoked in a script (instead of writing the whole program from scratch). Specifically, we want to load two such libraries, “Beautiful Soup” and “lxml.” Beautiful Soup is used to extract data from web pages or XML files and lxml provides additional HTML and XML processing capabilities. (You don’t really need to know the details of these libraries unless of course you’re interested in learning more. It may also be helpful to know that Word documents are actually small collections of XML files “underneath,” hence our need for various libraries to handle XML content. If you want to get really “tech” about this, create a new, throw-away Word document, save it and then rename it from “Name.docx” to “Name.zip”. If you open the resulting ZIP file, it contains various XML files inside.)
To load the two required libraries, we’ll use the console window in Spyder (marked 2. in the screenshot above). Place the cursor into the console window (next to the little prompt that says “In [1]:”) and type:
conda install beautifulsoup4
and press Enter.
After a moment, the system should respond as follows:
Next, type the following into the console window:
conda install lxml
and press Enter. You’ll get a similar response to what I showed you above.
Spyder will remember which libraries you have previously loaded for this project, so there is no need to load them again. (In other words, you can close and re-open Spyder and don’t have to perform the steps in this section again.)
Adding the script
Now we’re all set to paste our comment extractor script into the main editor window in Spyder. Place the cursor into the main editor window, highlight everything that’s currently there and delete it:
Now grab the following code in its entirety and copy it (highlight and Ctrl-C if you’re on Windows; highlight and Command-C on a Mac):
Once you’ve copied it, paste it into the editor window in Spyder (Ctrl-V or Command-V).
Make sure you’re careful in your highlighting — grab every last bracket!
#!/usr/bin/env python
# Given a .docx file, extract a CSV list of all tagged (commented) text
# This is version 6.0 of the script
# Date: 12 February 2020

import zipfile
import csv
from bs4 import BeautifulSoup as Soup
import tkinter as tk
from tkinter import filedialog
import re

# Show file selection dialog box
root = tk.Tk()
root.withdraw()
paths = filedialog.askopenfilenames()
root.update()

with open('/'.join(paths[0].split('/')[0:-1])+'/output.csv', 'w', newline='', encoding='utf-8-sig') as f:
	csvw = csv.writer(f)
	# loop through each selected file
	for path in paths:
		# Write a header line with the filename
		csvw.writerow([path.split('/')[-1], ''])
		# .docx files are really ZIP files with a separate 'file' within them for the document
		# itself and the text of the comments. This unzips the file and parses the comments.xml
		# file within it, which contains the comment (label) text
		unzip = zipfile.ZipFile(path)
		comments = Soup(unzip.read('word/comments.xml'), 'lxml')
		# The structure of the document itself is more complex and we need to do some
		# preprocessing to handle multi-paragraph and nested comments, so we unzip
		# it into a string first
		doc = unzip.read('word/document.xml').decode()
		# Find all the comment start and end locations and store them in dictionaries
		# keyed on the unique ID for each comment
		start_loc = {x.group(1): x.start() for x in re.finditer(r'<w:commentRangeStart.*?w:id="(.*?)"', doc)}
		end_loc = {x.group(1): x.end() for x in re.finditer(r'<w:commentRangeEnd.*?w:id="(.*?)".*?>', doc)}
		# loop through all the comments in the comments.xml file
		for c in comments.find_all('w:comment'):
			c_id = c.attrs['w:id']
			# Use the locations we found earlier to extract the xml fragment from the document for
			# each comment ID, adding spaces to separate any paragraphs in multi-paragraph comments
			xml = re.sub(r'()', r'\1 ', doc[start_loc[c_id]:end_loc[c_id] + 1])
			# Parse the XML fragment, extract any text and write to file along with the label text
			csvw.writerow([''.join(c.findAll(text=True)), ''.join(Soup(xml, 'lxml').findAll(text=True))])
		unzip.close()
The script is a mix of actual code and lines of explanatory notes. The latter begin with the hash sign (#), and if you read through them, you’ll get a sense of how the program works.
At the beginning, we import certain features from the two libraries we loaded earlier. Then, we show a file open dialogue where the user can select one or more Word files to be processed. For each selected file, we then process the comment text and associated tags and write them to a section of the output.csv file, performing a bit of text processing/trimming to make it look neat.
Now that you’ve inserted the script in the main editor window, save it using the Save icon at the top left of the Spyder window:
You can call it whatever you like — I used “comment_extractor.py” for my script (.py is the typical extension for Python scripts).
Now we’re ready to give it a try.
Using the script
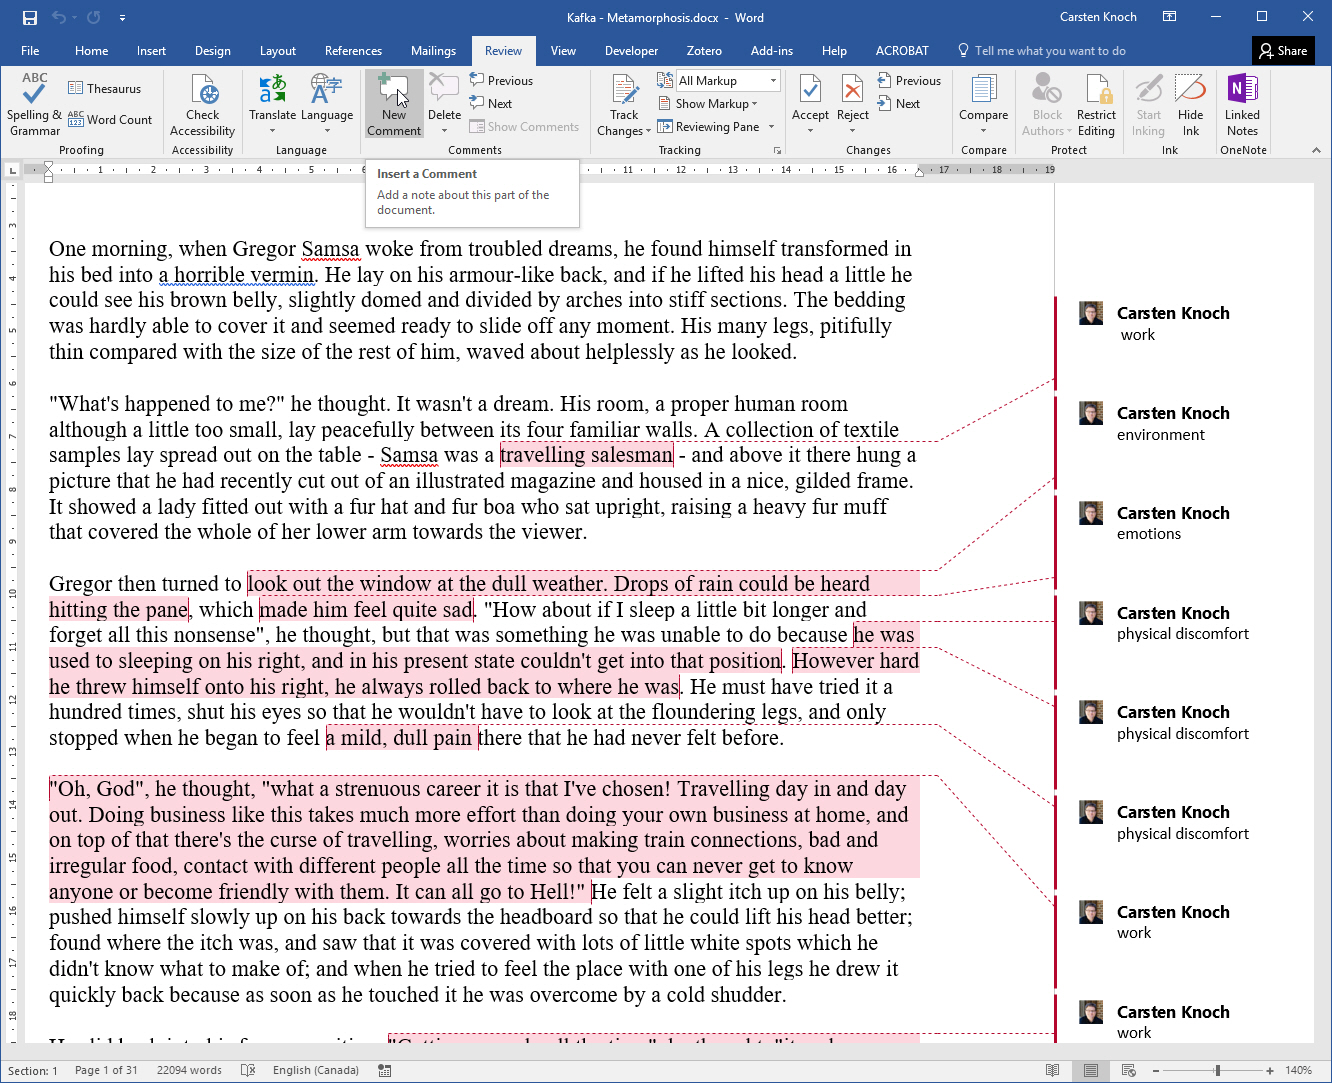
In Word, use comments to code your document. Make sure your comment “labels” are consistent. You can use single or multi-word tags. (However, this solution only works for single layer tags—if you need additional taxonomic layers in your codebook, you’ll have to retrofit them after the extraction process.) Save your coded document.
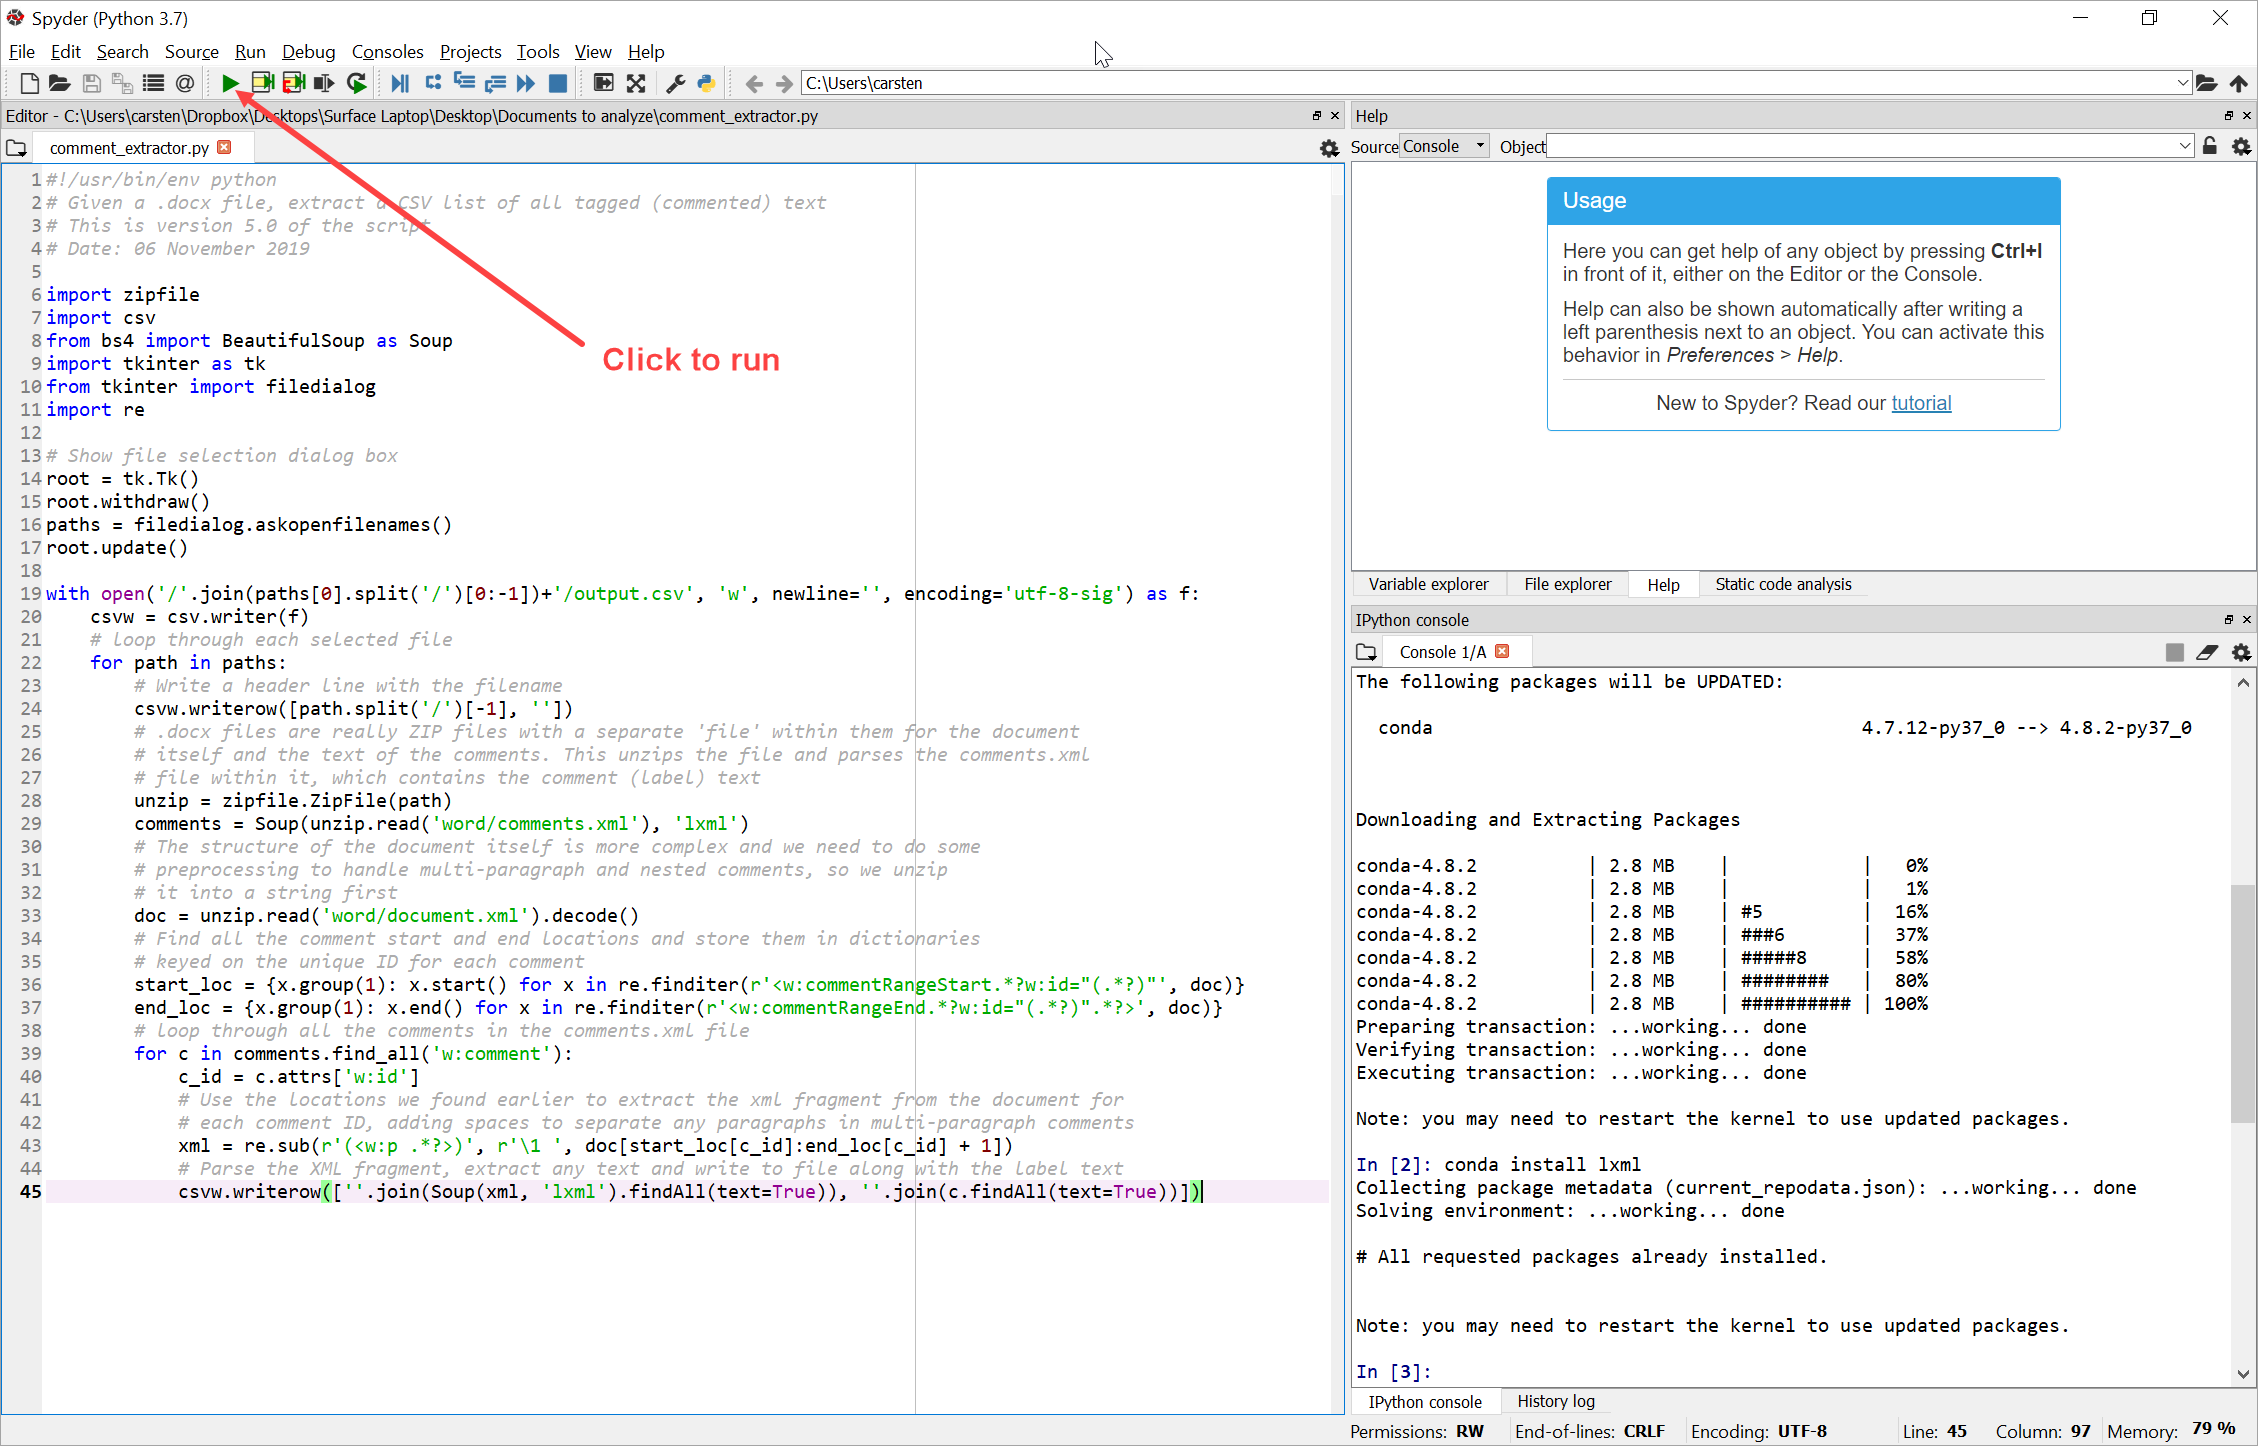
Once you have one or more coded Word documents saved and ready to go, click on the “Play” button at the top of the screen to run your script:
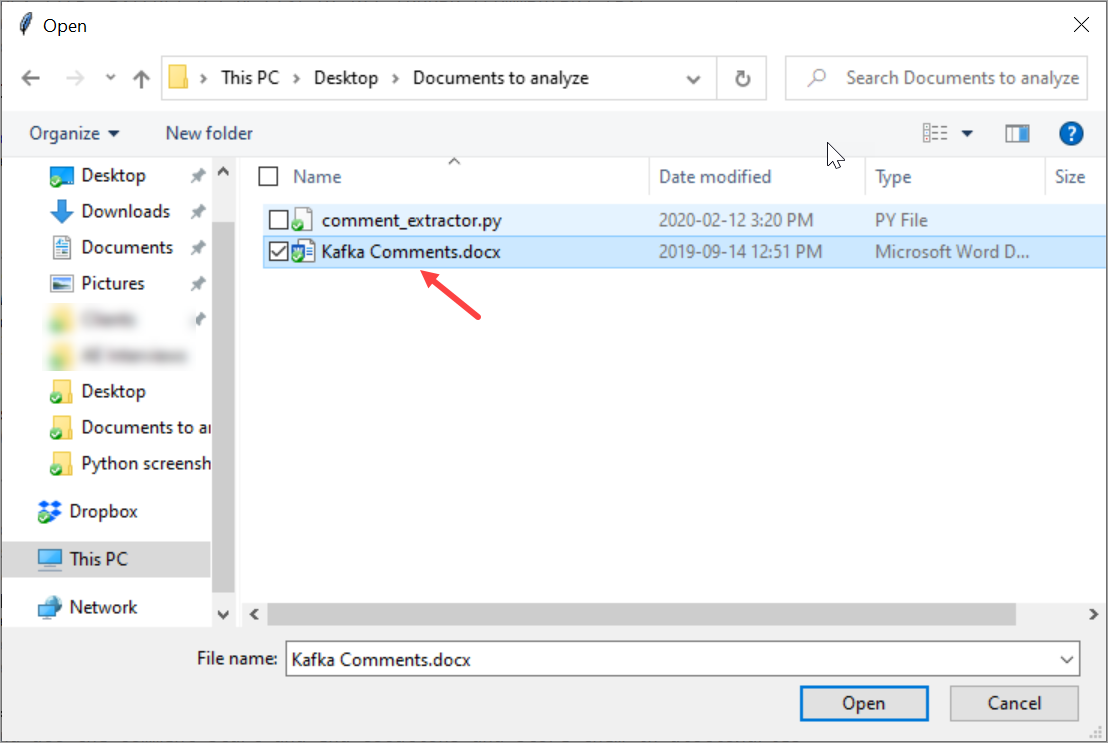
You’ll be presented with a “File open” dialogue to select your file or files for comment extraction:
Navigate to where you saved your Word documents containing commented/tagged text and select one or several of them, then click on “Open.” After a short moment, it’ll appear as if nothing actually happened. However, if you pay close attention, the Spyder console tells us that the script has run and also where it put the output.csv file containing our extracted data (bottom right):
If you navigate to the folder location (it’s the same one where your source Word documents are stored), you’ll see a new file called output.csv:
When you open it in Excel, it now contains the extracted codes and corresponding text snippets. It should look like this:
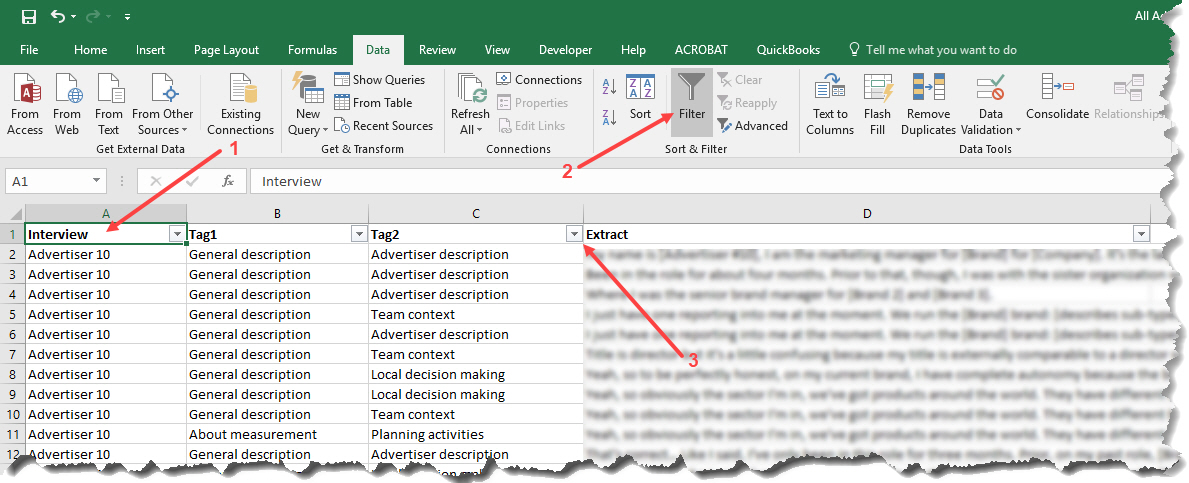
From here, you can add columns manually to add additional metadata that you’ll need for your analysis. For example, if I’m coding interviews, I like to add a column containing the participant’s name. When I later combine all participants’ extracts into a single Excel sheet, I can more easily sort or filter data rows. Generally, the Filter function, in Excel’s Data tab, is very useful for conducting further analysis. First, ensure that your columns have appropriate headers (1), then switch to the Data tab and click on Filter (2), and finally use one or more of the drop-down menus that Excel now shows in your column headers (3) to select tags to show:
Below is the dialogue shown after selecting the drop-down menu (3). Use it to select one or more tags to query your consolidated database for, and Excel will filter it down to display only the matching rows. Note that you can also use more than one column filter at the same time. This allows you to display certain codes for a subset of interview participants, for example.
Final words & limitations
This version of the script has far fewer limitations that the earlier, VBA version. First, it works the same on Windows, OSX and Linux, giving every computer user the same capabilities. The fact that it uses Python, a widely-used open source programming platform, should make it easier to maintain and troubleshoot if something goes wrong. Given that Python has seen significant growth in recent years due to the increase in interest in “data science,” “machine learning” and so on, this version of the script should also fall into the sweet spot of learning rudimentary coding skills in the so-called “digital humanities.”
As for limitations: it’s worth reiterating that it still isn’t a terribly sophisticated tool, providing few of the advanced features of commercial text analysis programs. As for how robust it is — time will tell, but I think that most people who work at universities wouldn’t have a particularly difficult time locating someone who knows Python well and who could help troubleshoot or extend this code, as required.
As always, I would love to hear about your experiences using the comment extractor script in the comments below.
Thanks to
Thanks for Geva Patz who wrote the script, and to Steph Grimbly for field-testing it in a real project.

